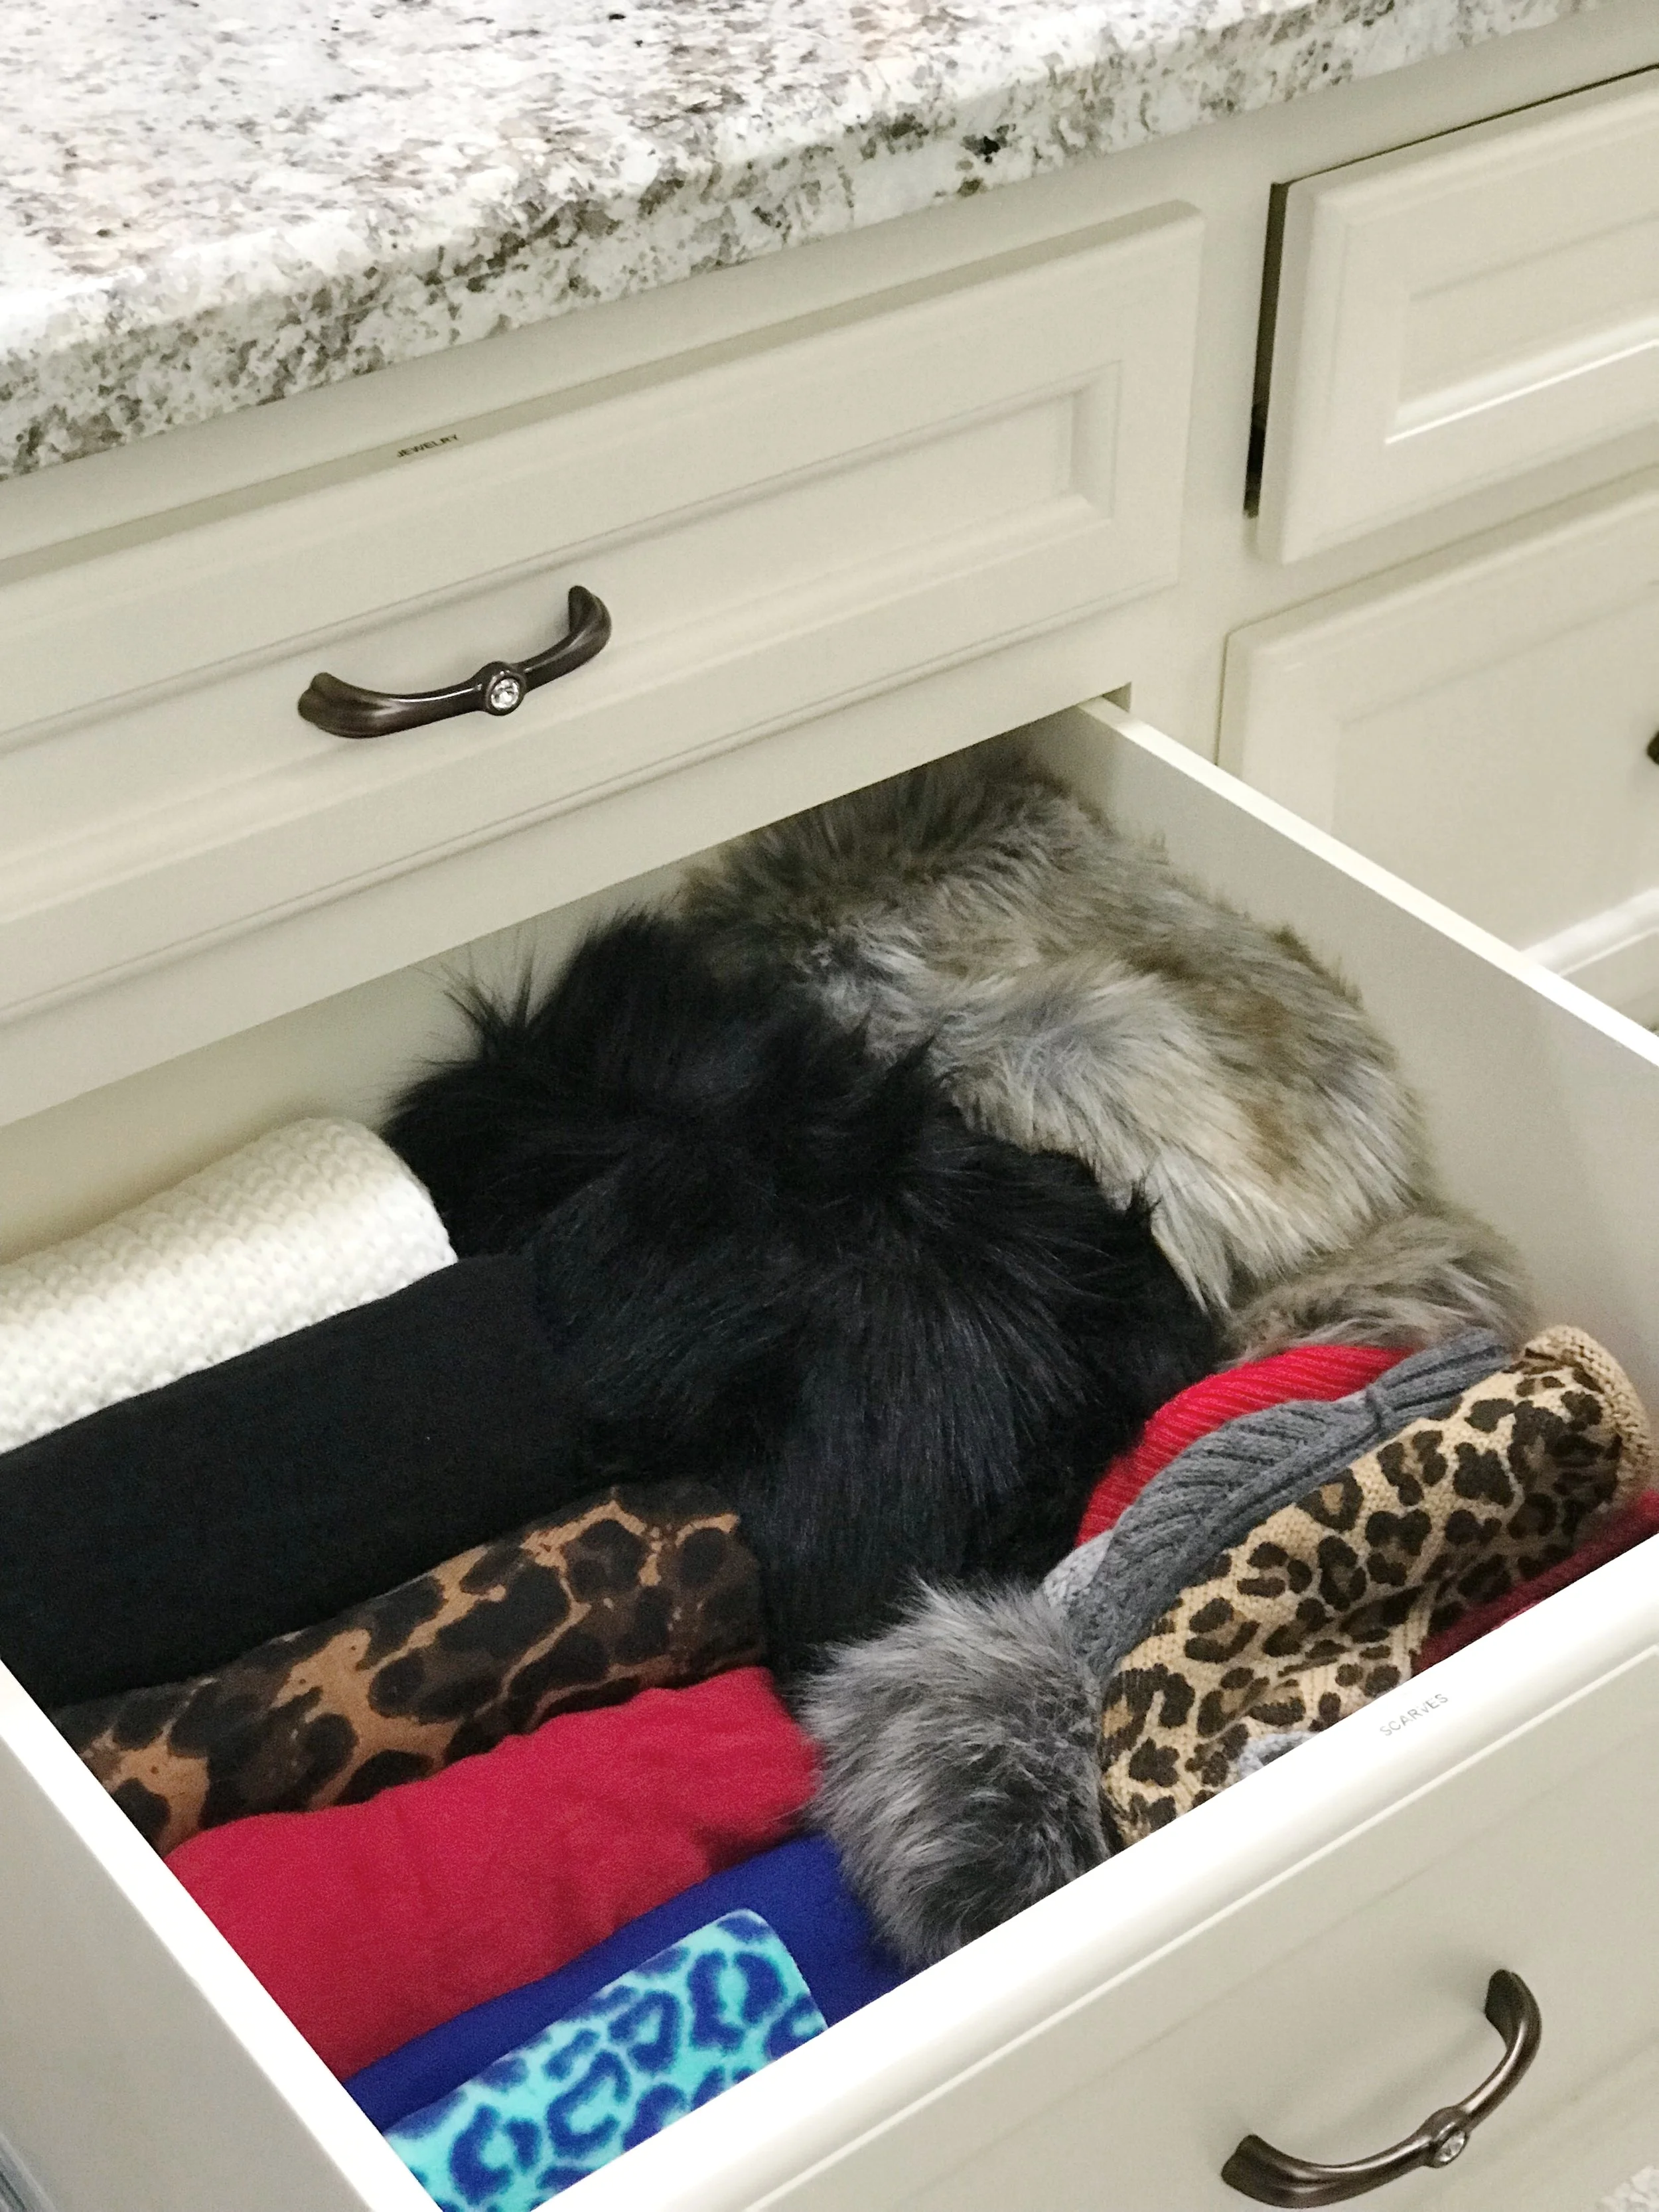
No matter what kind of person you are, what type of house you own, or what lifestyle you lead, chances are that you probably have something in common with the majority of the world’s population: a junk drawer.
Having a junk drawer can be inevitable at times. No matter how neat you are, there will always be items that just don’t seem to belong anywhere. Combine that with a tiring daily routine, and you’ve got yourself a formula for messy drawers. Although you may blame someone else in the household for the mess, chances are that you’ve lazily thrown items into a random drawer more than you’d like to admit. This is a habit that has probably had you panicking at one point because you couldn’t find something you needed.
Whether you call it a multi-use drawer or a catch-all, it can be incredibly hard to find the energy to organize your junk drawer. However, unbeknownst to most people, cleaning out the junk drawer (and making it an actual, well, drawer?) can be a therapeutic chore that just may inspire you to be a more organized person.
A junk drawer is a space where many people store all the trinkets that don’t have a home. Sure, it’s convenient, but there’s no doubt that you’ll have to clean it sooner or later. Perhaps it’s time for you to clean yours.
Before you get started, it’s important to understand that you’re most likely going to be overwhelmed by the sight of many more items than you would expect to see. Worry not, because you can actually clean out and organize your junk drawer in half an hour or less with a bit of elbow grease and the following helpful tips:
1. TAKE EVERYTHING OUT AND PURGE
In order to put your junk drawer back into order, you’ll have to take out all the contents in it and set it aside in a pile that you’ll have to go through later. Although it may seem like this is the whole step in itself, the truth about decluttering a junk drawer is that you haven’t really taken everything out until you’ve thrown away items with no use out the way.
When going through the pile of junk, be realistic about what you have to throw away and what you can keep - with an emphasis on what to keep. This is crucial for purging out items that you shouldn’t be holding onto anymore. While it might seem wasteful to throw all the forks, sauce packets, receipts, and other trinkets that you’ve accumulated, you need to remember that it’s even more wasteful to take up an unnecessary amount of space!
2. SORT, GROUP AND ARRANGE!
After clearing out your drawer and purging all the things you will be throwing or giving away, it’s time to sort! Take the remaining items and divide them into different groups or piles according to their purpose. During the sorting process, you may find a few items that don’t belong in the junk drawer (such as pens, scissors, and spoons), so make sure to put those items in the right places though it’s okay to keep a few pens or even scissors in your organized junk drawer.
3. ADD A FEW STORAGE SOLUTIONS
One way to prevent your junk drawer from reverting back into being a dumpster after you’ve cleaned it up is to add a few storage solutions. As you look for organizers, make sure to measure the height and width of your drawer in order to narrow down your storage choices. Here are a few solutions that can bring your drawer back to normalcy:
Expand-a-drawer organizers
4-section drawer organizers
Shallow drawer organizers
Deep drawer organizers
Muffin tins
Ice cube trays
Makeup trays
Once you’ve gotten your dividers into place, start arranging the remaining items from your pile into the appropriate spaces. This way, it will be much easier to keep your drawer looking and functioning as normally as possible.
STAY ORGANIZED
Voila! Your junk drawer is no more, thanks to a simple process that will probably take 30 minutes or less to carry out. The only step that you need to follow after the previous ones is to keep your habits in check, which means that you’ll have to discipline yourself into not turning your newly organized drawer back into what it was.
In all honesty, the junk drawer has been accumulating random items for months or maybe even years but now it’s time for a fresh start. Organize your junk drawer today, and we promise you’ll feel better once you get it done.
If you’re looking for a decluttering service to help take care of your home, Rescue My Space is your best option. Feel free to get in touch with us today to see how we can help.


